Replacing Supply Tubing
Product Support and Customer Service
For Further support visit our Contact Page
Safety
Think and act in a safe manner. Always disconnect power and use a lockout before you work on the E-coat system, or any of the related subsystems. Observe any confined space conditions. Use the appropriate safety equipment and clothing for the task. Please carefully read all the instructions listed below to familiarize yourself with the project before attempting to perform any of the work.
Required Materials
- Supply Tubing Kit (UFS part number 515xxx)
Required Tools
- Channel Locks
- Utility Knife
Step 1
Turn off the supply fluid to the ME Cell by turning off the individual valve. Remove the tubing from the valve/flow indicator.
Step 2
Disconnect the Electrical connection from the ME Cell by:
- If quick-disconnect is present, unplug the two connections.
- If no quick-disconnect is present, use two wrenches to disconnect the cable lead from the electrode.
Step 3
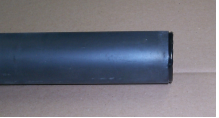
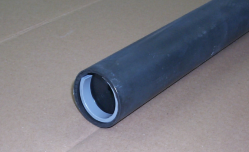
Pull the anode (Stainless or Precious Metal) out of the membrane shell. Clean off the anode with DI or RO water and place it on a safe surface (saw horses).
Step 4
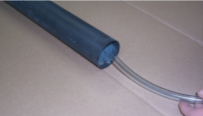
Use pliers to remove the c-clip inside the bottom of the electrode. Pull out supply tubing from bottom of anode. Discard old supply tubing.
Step 5
Insert new supply tubing/black boot assembly through bottom of anode.
Step 6
Push supply tubing through electrode until the black boot touches the anode. Push in the boot until there is about 3mm left.
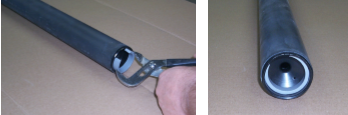
Step 7
Use channel locks to grab the c-clip provided with kit and insert it into the electrode, making sure it is flush with the bottom of anode (Use the other side of channel locks to lightly tap on c-clip to get it flush).
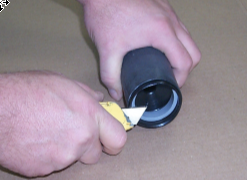
Step 8
Use the utility knife to trim off the rest of the boot leaving nothing outside the electrode
Step 9
Slowly slide the electrode back into the membrane shell and make the appropriate connections.
BULLETIN 993159