TTX Field Fix for Through Walls Cells
Contents[Show]
Product Support and Customer Service
For Further support visit our Contact Page
Safety
Think and act in a safe manner. Always disconnect power and use a lockout before you work on the E-coat system, or any of the related subsystems. Observe any confined space conditions. Use the appropriate safety equipment and clothing for the task. Please carefully read all the instructions listed below to familiarize yourself with the project before attempting to perform any of the work.
Required Materials
- Shrink Tubing (Supplied Loose)
- 2 Part Epoxy
Required Tools
- Heat Gun
- Brush to apply epoxy
Instructions
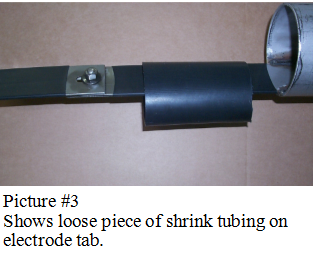
- Locate the electrode, bulkhead, hardware kit and loose piece of shrink tubing. NOTE: The bulkhead and electrode should have shrink tubing already attached.

- Take the loose piece of shrink tubing and slip it over the electrode tab. NOTE: This must be done before the connection is made between the bulkhead and the electrode.
- Once the connection has been made between the electrode and the bulkhead tab, slide the loose piece of shrink tubing evenly over the electrical connection.
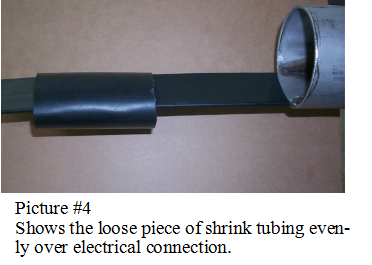
- Slowly apply heat with the heat gun to shrink loose piece of shrink tubing. NOTE: Start in the center of piece and work your way to one end.

- Inspect inside of coupling in the tank wall to assure coating is still applied to the ID of the tank coupling.
- Take a two part epoxy and apply it to the electrode tab welded area. This will protect the weld from current if there is a pin hole in the coupling located on the tank wall.
- Once all the above has been done it is now time for a current leak check. Take an empty rack and lower it into the paint bath. The rectifier should be reading zero to 5 volts. If this is any higher we need to re-inspect the couplings in the tank wall. Repeat until all pin holes have been fixed.